How to make a momo wrapper that stretches and seals
Understand hydration, rest, rolling thickness, portion balance, pleating and steam testing as one controlled wrapper system.
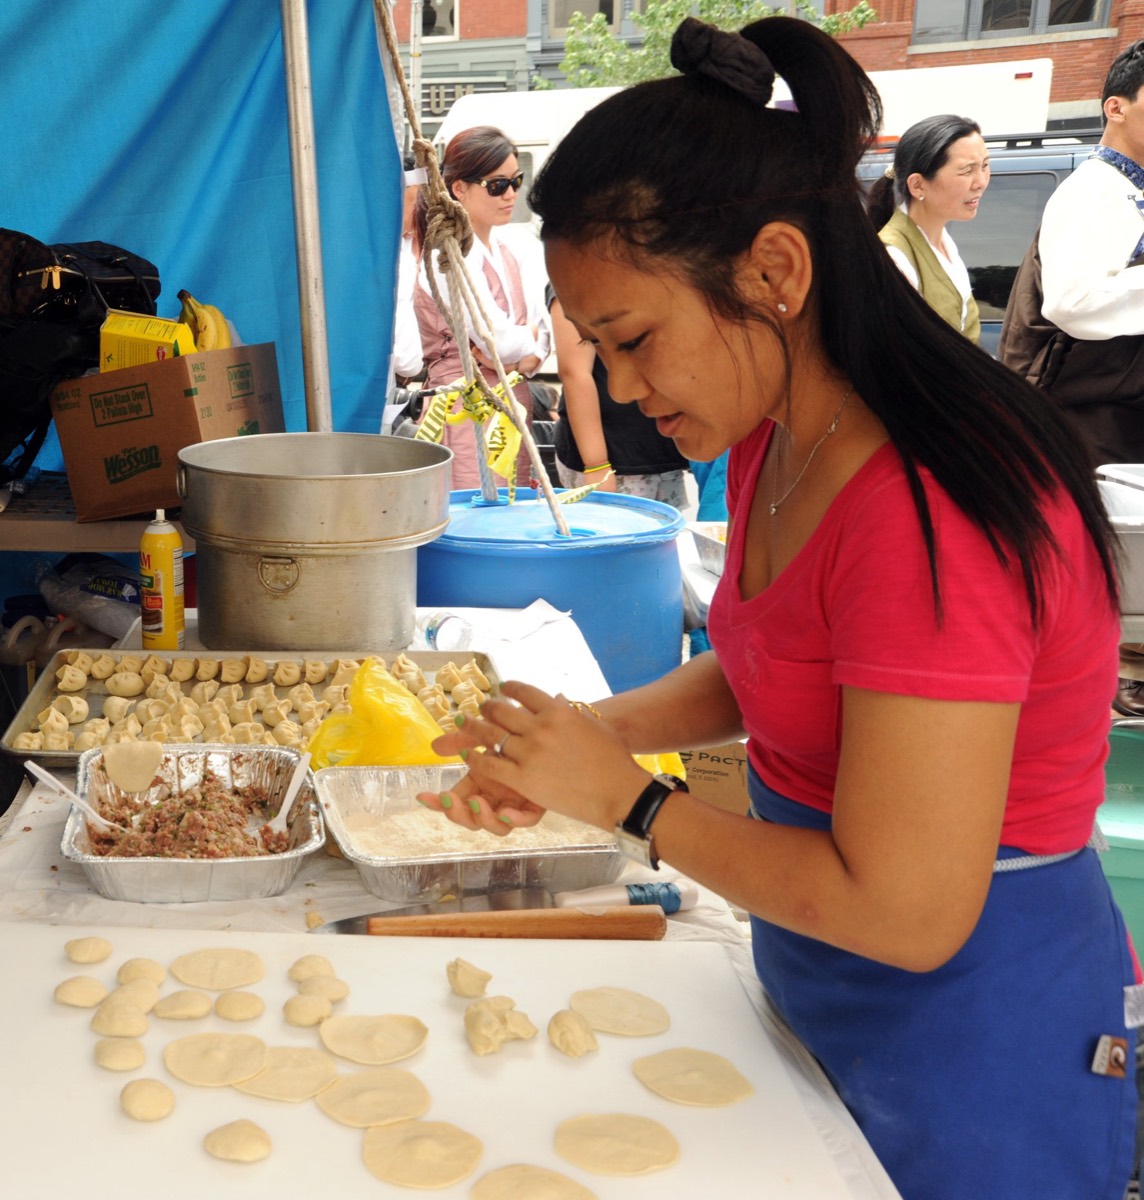
Think of the wrapper as an engineered membrane
A momo wrapper has three jobs. It must stretch around a three-dimensional filling without tearing, close into a continuous seam, and become tender in the time needed to cook the centre. Those jobs explain why a recipe cannot be judged by ingredient list alone. Flour absorption, water temperature, mixing, rest, rolling thickness, bench flour and filling moisture all change the result.
Most momo doughs begin with wheat flour and water, with recipes varying on salt and oil. The useful target is not a universal hydration percentage; it is a dough that becomes smooth after mixing, relaxes under cover, rolls without dry edge cracks and keeps enough strength to hold the filling. Different flours absorb water differently, and hot, dry working conditions pull moisture from exposed pieces quickly.
- Hydration
- The amount of water relative to flour; it influences softness, extensibility and handling.
- Rest
- A covered pause that lets moisture distribute and the dough relax before rolling.
- Extensibility
- The ability to stretch without springing back or tearing.
- Bench flour
- Dry flour used to prevent sticking; excess can weaken a wet seal.
Dough control table
| Attribute | What to observe | If too low | If too high |
|---|---|---|---|
| Water absorption | Dough comes together without loose dry flour | Cracks, rough surface, difficult seal | Sticky handling and shape loss |
| Mixing development | Surface becomes smoother and cohesive | Weak, rough wrapper | Very tight dough may resist rolling |
| Rest time | Disc rolls with less spring-back | Wrapper shrinks and fights the pin | Exposed or overheld pieces may skin over |
| Disc thickness | Centre supports filling; rim can pleat cleanly | Tears or translucent weak spots | Dense, chewy folds |
| Bench flour | Pieces release without a dusty coating | Sticking and distortion | Dry seam that will not bond |
| Exposure | Unused dough and discs remain covered | Not applicable | Dry edges crack during pleating |
Record conditions as well as quantities. A formula that works during a humid morning can feel different beside a hot steamer in a dry service area. The correction may be better covering and smaller working batches rather than adding water to the entire formula.
A repeatable mixing and resting workflow
- Weigh flour and water. Volume cups hide variation. Weight produces a baseline that can be adjusted intentionally.
- Hold back a small part of the water. Add it only if the flour remains dry after initial mixing. This prevents a sudden jump from firm to sticky.
- Mix until no loose flour remains. Scrape the bowl and combine dry pockets before deciding the dough needs more water.
- Develop to a cohesive mass. Knead until the texture is more even. The goal is manageable strength, not maximum toughness.
- Rest under an effective cover. A cloth that dries in moving air may not protect the dough as well as a closed container or suitable cover.
- Test one disc. Roll, fill and pleat a sample. If it springs back, extend the covered rest; if edges crack, examine hydration and exposure.
Do not correct an entire batch from one badly floured disc. First determine whether the symptom belongs to the formula, the rest, the rolling method or surface drying. That distinction prevents unnecessary additions that create a new problem.
Roll for even cooking and a clean pleat
A wrapper does not need identical thickness from edge to edge. Many makers keep enough structure in the centre to support filling and roll the rim thinner so stacked pleats do not become a heavy knot. The difference should be gradual. An extremely thin rim tears, while a thick rim produces a gummy crown.
Divide dough into similar pieces before rolling. Keep the queue of pieces covered, flatten one at a time and rotate during rolling to maintain a round shape. Feel for thick bands and thin windows. If the disc sticks, use the minimum bench flour needed and brush heavy flour away from the sealing rim.
| Rolling symptom | Likely cause | Targeted response |
|---|---|---|
| Disc springs smaller | Dough remains tight | Give the covered dough more rest |
| Dry radial cracks | Low hydration or surface drying | Protect pieces; test a small water correction on the next batch |
| Centre tears under filling | Centre rolled too thin or filling too wet | Keep central support and review filling moisture |
| Pleat crown stays raw-tasting | Too much dough stacked at the closure | Thin the rim and use fewer, more even folds |
Match filling portion to wrapper capacity
Overfilling does not simply create a more generous momo. It pushes moisture and oil onto the rim, increases tension at the seam and thickens the centre that heat must reach. Underfilling creates a dough-heavy bite and excess trapped air. The useful portion lets the wrapper meet without forcing and leaves a clean sealing margin.
Standardise by weighing a short series of discs and filling portions. The objective is not to make staff depend forever on a scale; it is to teach the hand what the target feels like and to expose drift. Recheck during service because scoop compression and filling temperature can change portion size.
Filling consistency also changes capacity. A finely cut, cohesive mixture sits compactly. A coarse or watery mixture spreads and contaminates the rim. Correct the filling before trying to rescue every wrapper with extra flour.
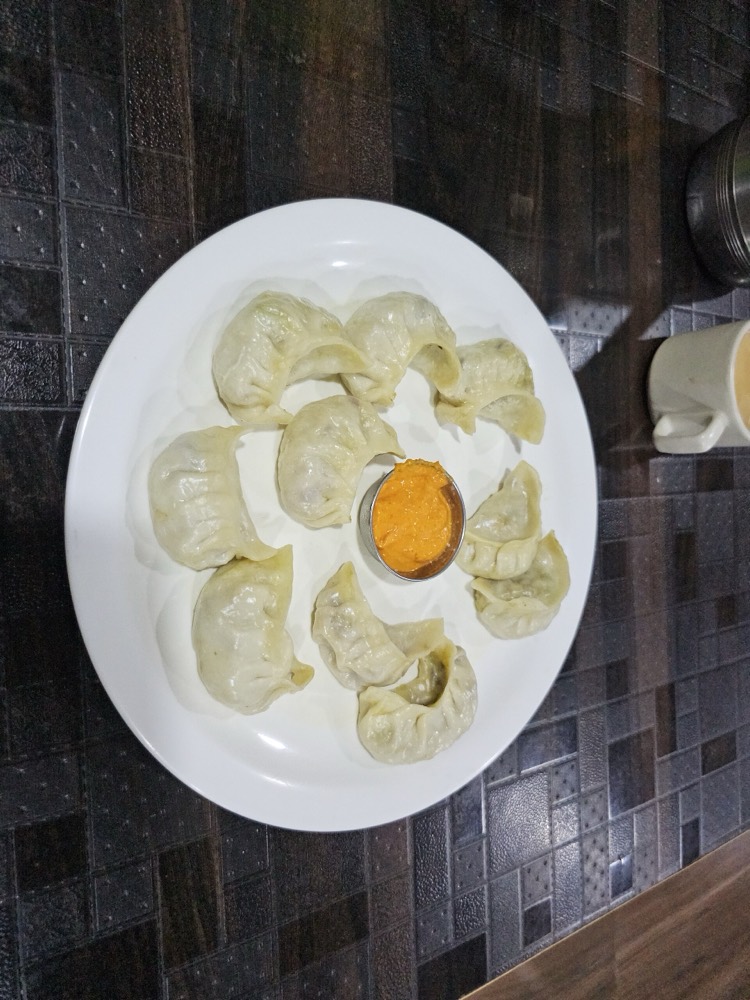
Pleating patterns and seal integrity
Round top-pleated and crescent edge-pleated momos distribute folds differently, but both require a continuous bond. Choose one pattern for a training batch and judge closure, speed and dough concentration. More pleats are not automatically better. Each fold adds layers that must cook through.
- Place the filling centrally and keep it below the sealing margin.
- Support the base so the filling does not push upward into the rim.
- Pinch each fold firmly into clean dough rather than into loose flour.
- Inspect the full seam for a pinhole or oily break.
- Place the finished momo on a protected, non-sticking surface without crushing the base.
If a seam repeatedly opens at the same point, watch the hand sequence. The defect may come from a final fold that is never compressed, not from the recipe. Photograph or mark failed locations during a test batch and look for the pattern.
Steam tests that produce useful evidence
Preheat the steamer so the batch enters a known environment. Arrange momos with space for steam circulation and enough separation to remove them without tearing. Keep batch size, starting temperature and cook time consistent while testing. Open the lid only when the procedure requires it; repeated checking changes the steam environment.
Evaluate seam integrity, wrapper tenderness at the side and crown, filling doneness, moisture release and sticking. For meat fillings, verify thorough cooking with an appropriate food-safety process and thermometer; wrapper appearance is not proof. Record the actual result and change only one variable for the next batch.
Method notes and related evidence
This technical guide describes observable dough relationships rather than claiming one traditional formula. Regional and household recipes vary. Food-handling boundaries follow the WHO Five Keys to Safer Food. For filling and finish choices, use the momo styles guide; for operational controls, use the food-safety guide.